
How to Repair Drywall: A Step-by-Step Guide for Homeowners
Drywall repair is a common task for many homeowners. Whether it's from accidental damage or normal wear and tear, knowing how to fix drywall can save you time and money. This step-by-step guide will help you tackle drywall repairs with confidence.
Gather Your Materials
Before starting, it's essential to have the right tools and materials. Here's what you'll need:
- Drywall patch kit
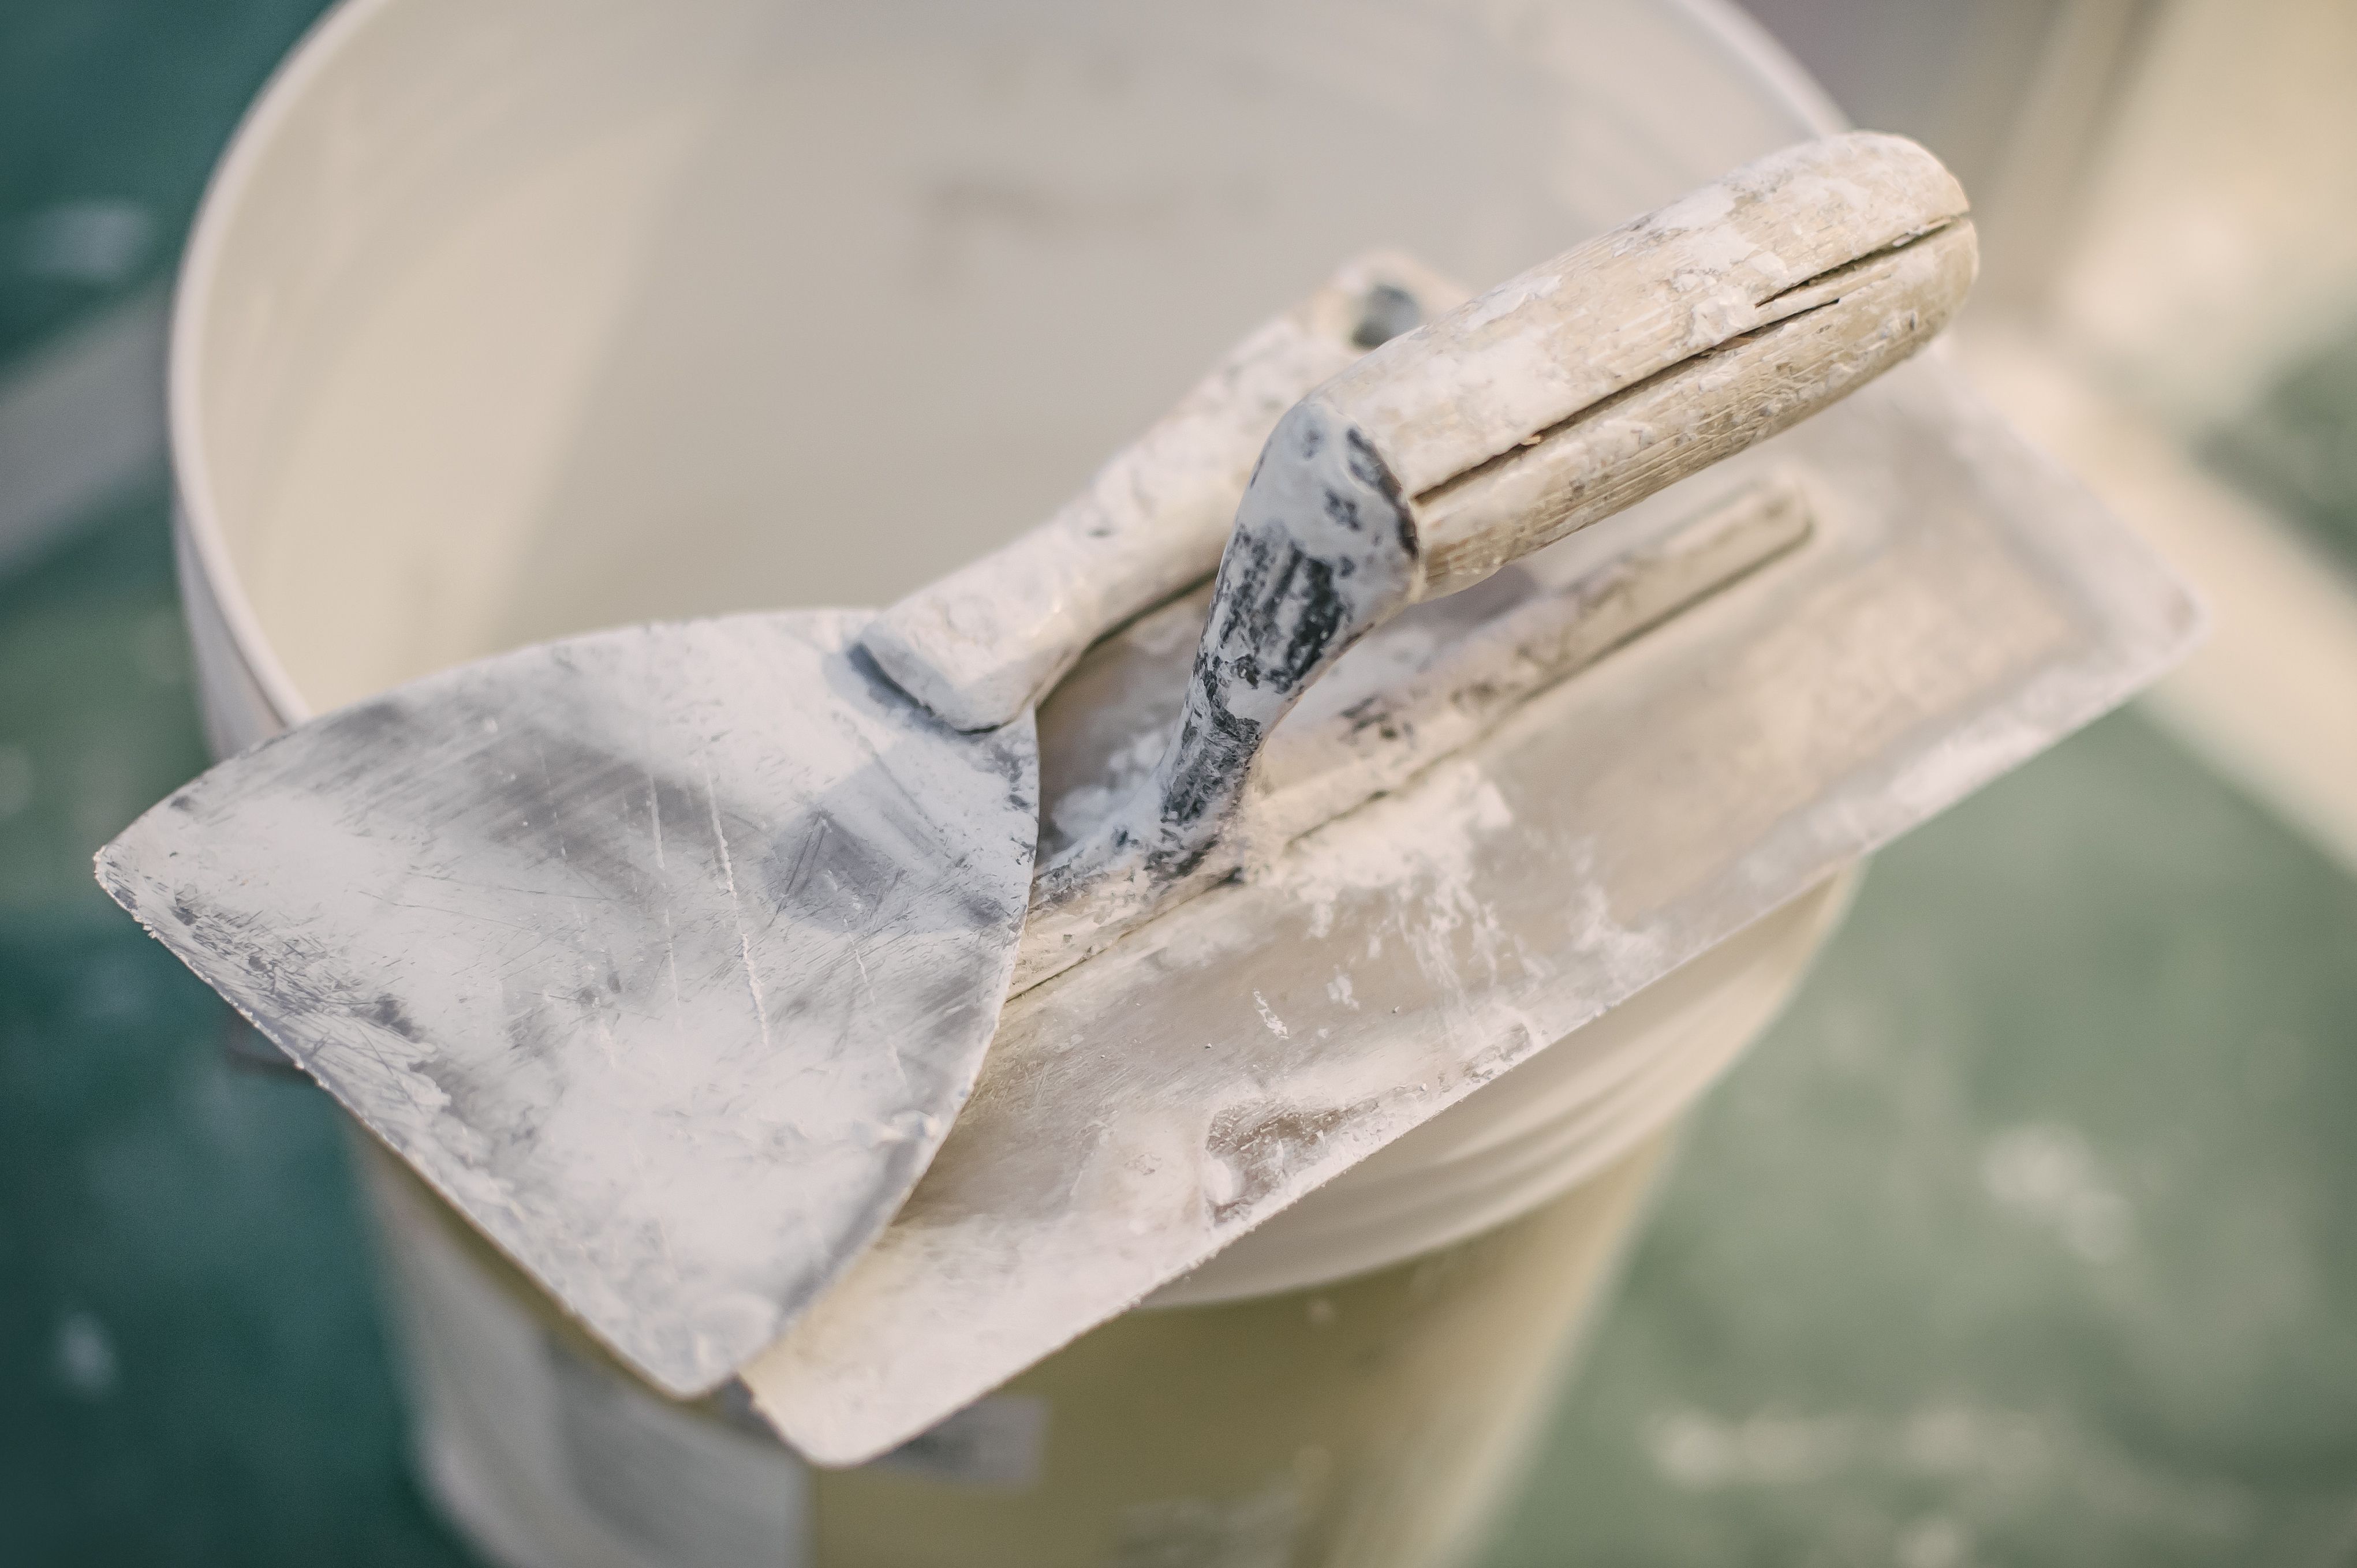
- Joint compound
- Putty knife
- Sandpaper
- Utility knife
- Paint and primer
Having these items ready will make the repair process smoother and more efficient.
Assess the Damage
Begin by examining the damage to your drywall. Whether it's a small hole or a larger crack, understanding the extent of the problem will help you decide the best repair method. Small holes can typically be filled with joint compound, while larger holes may require a patch.
Small Holes and Dents
For minor damage like small holes or dents, follow these steps:
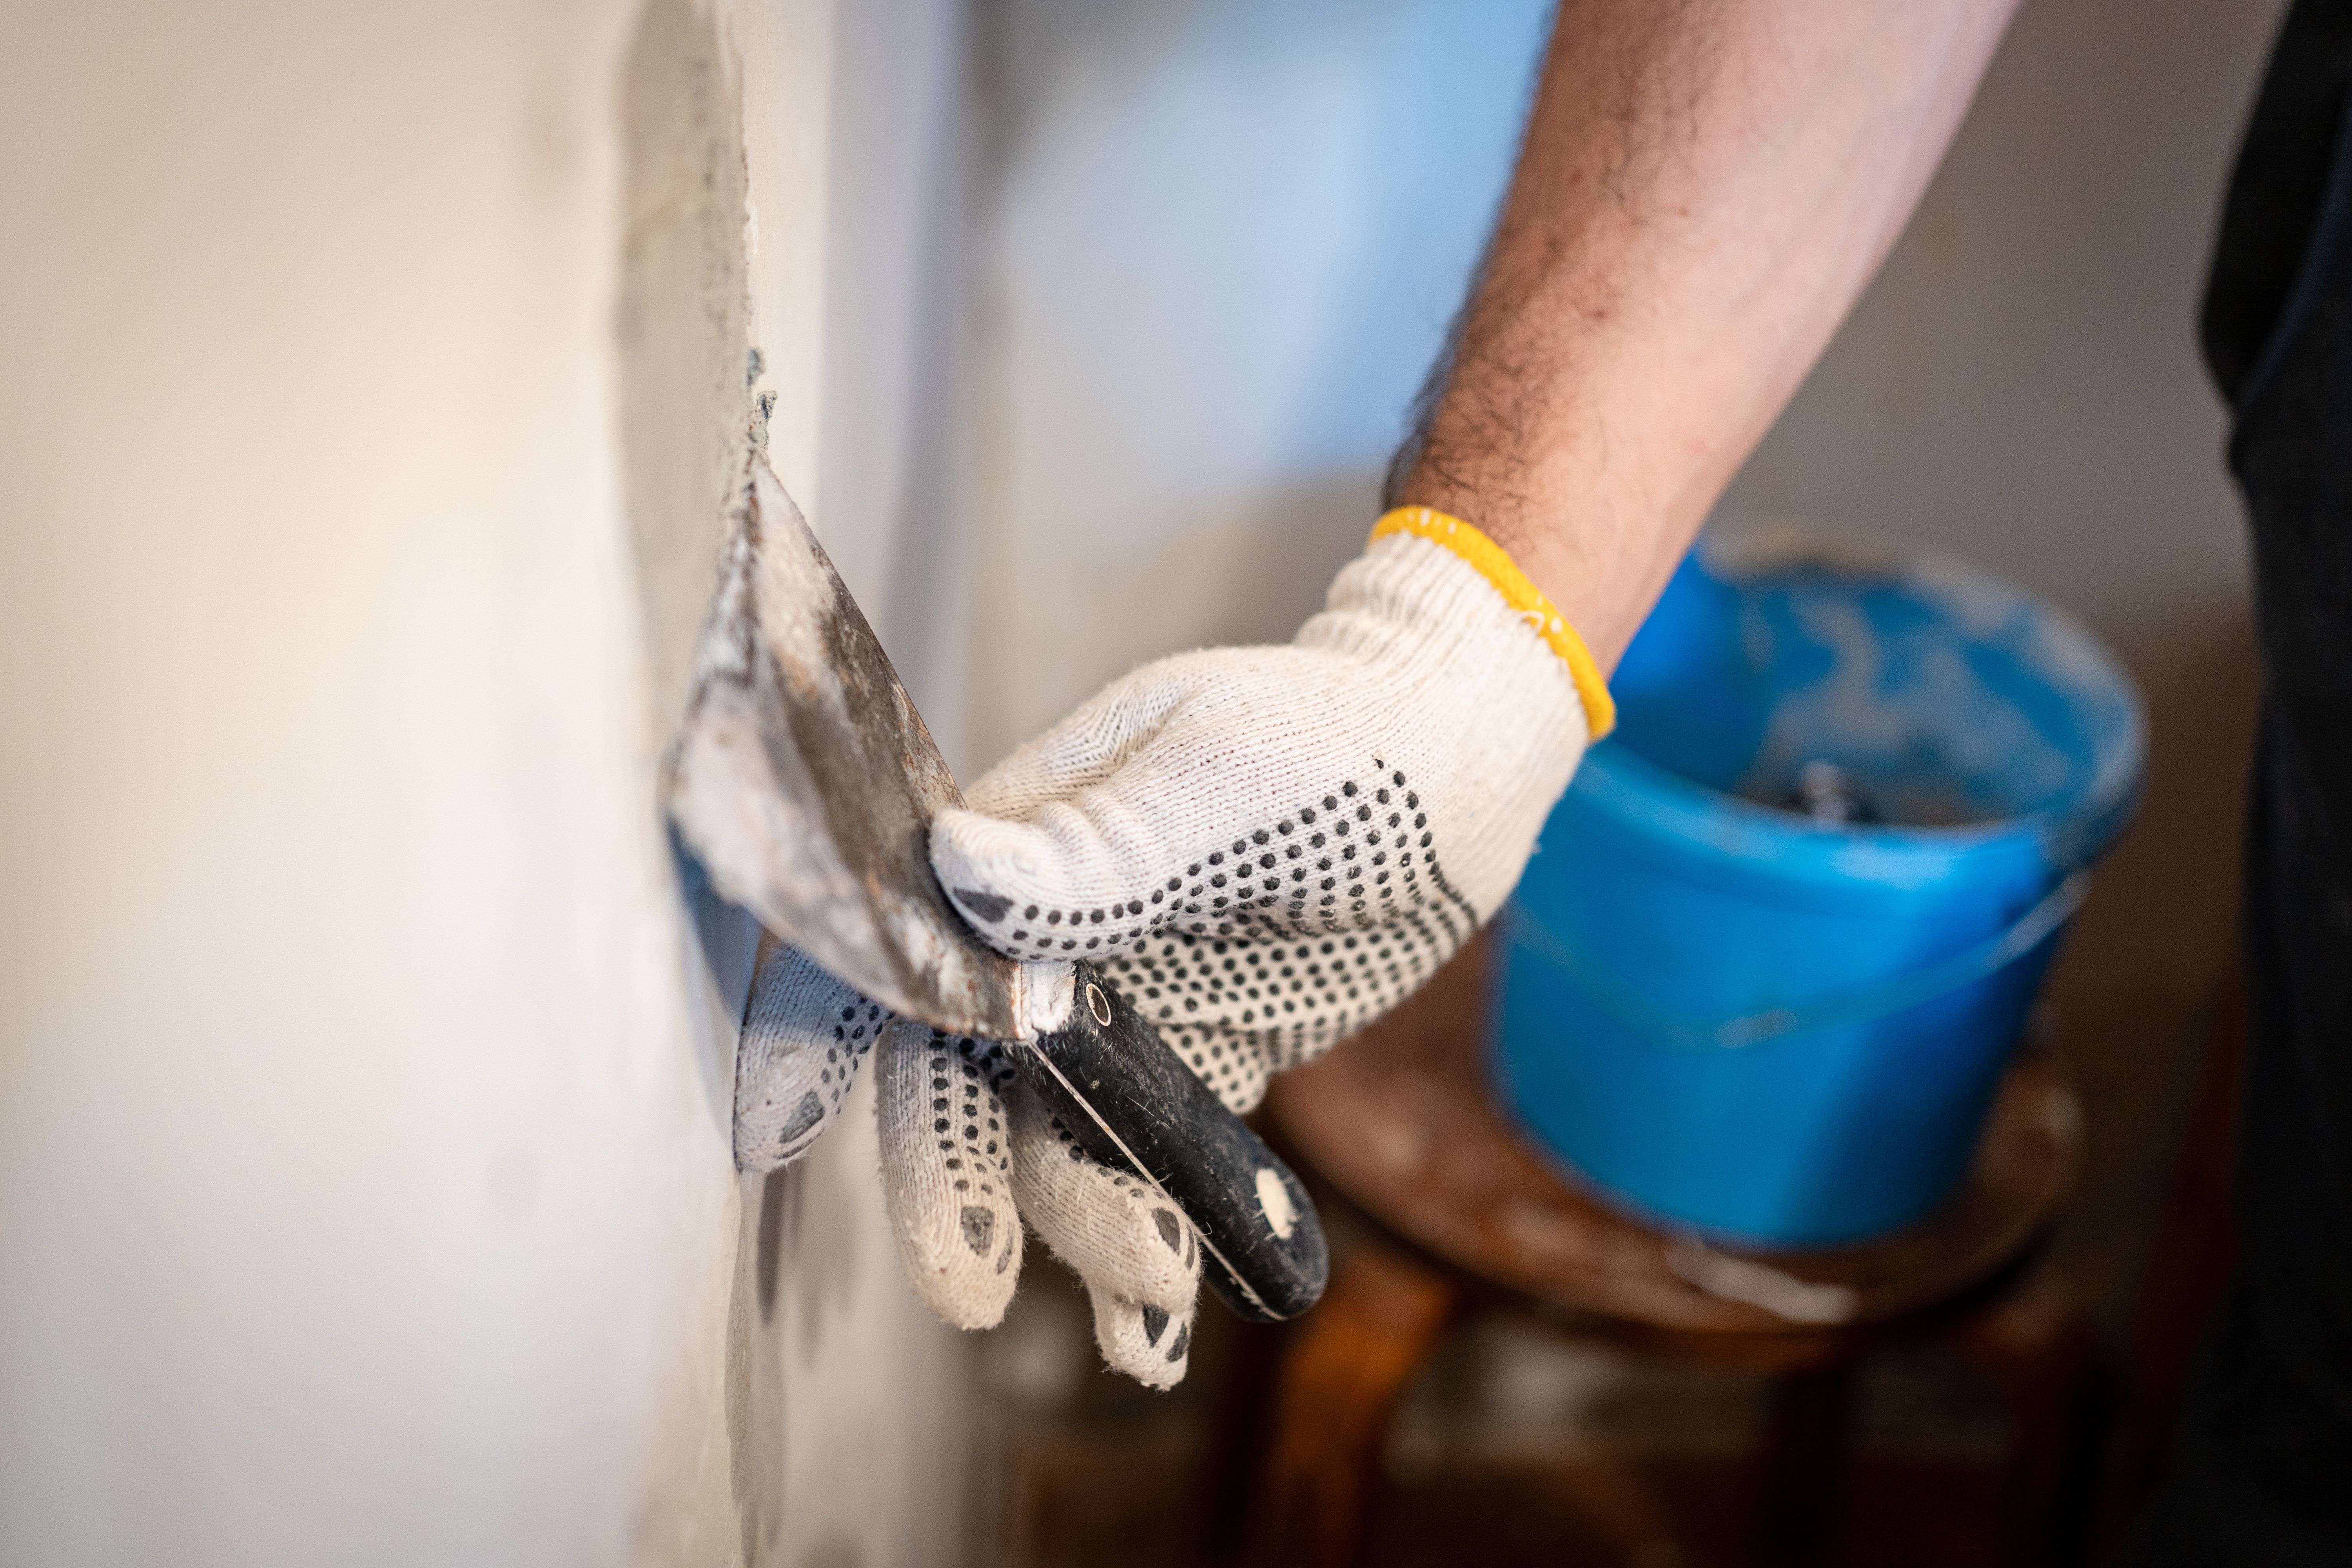
- Clean the area around the hole.
- Apply joint compound using a putty knife.
- Allow it to dry completely.
- Sand the surface until smooth.
- Prime and paint to match the surrounding wall.
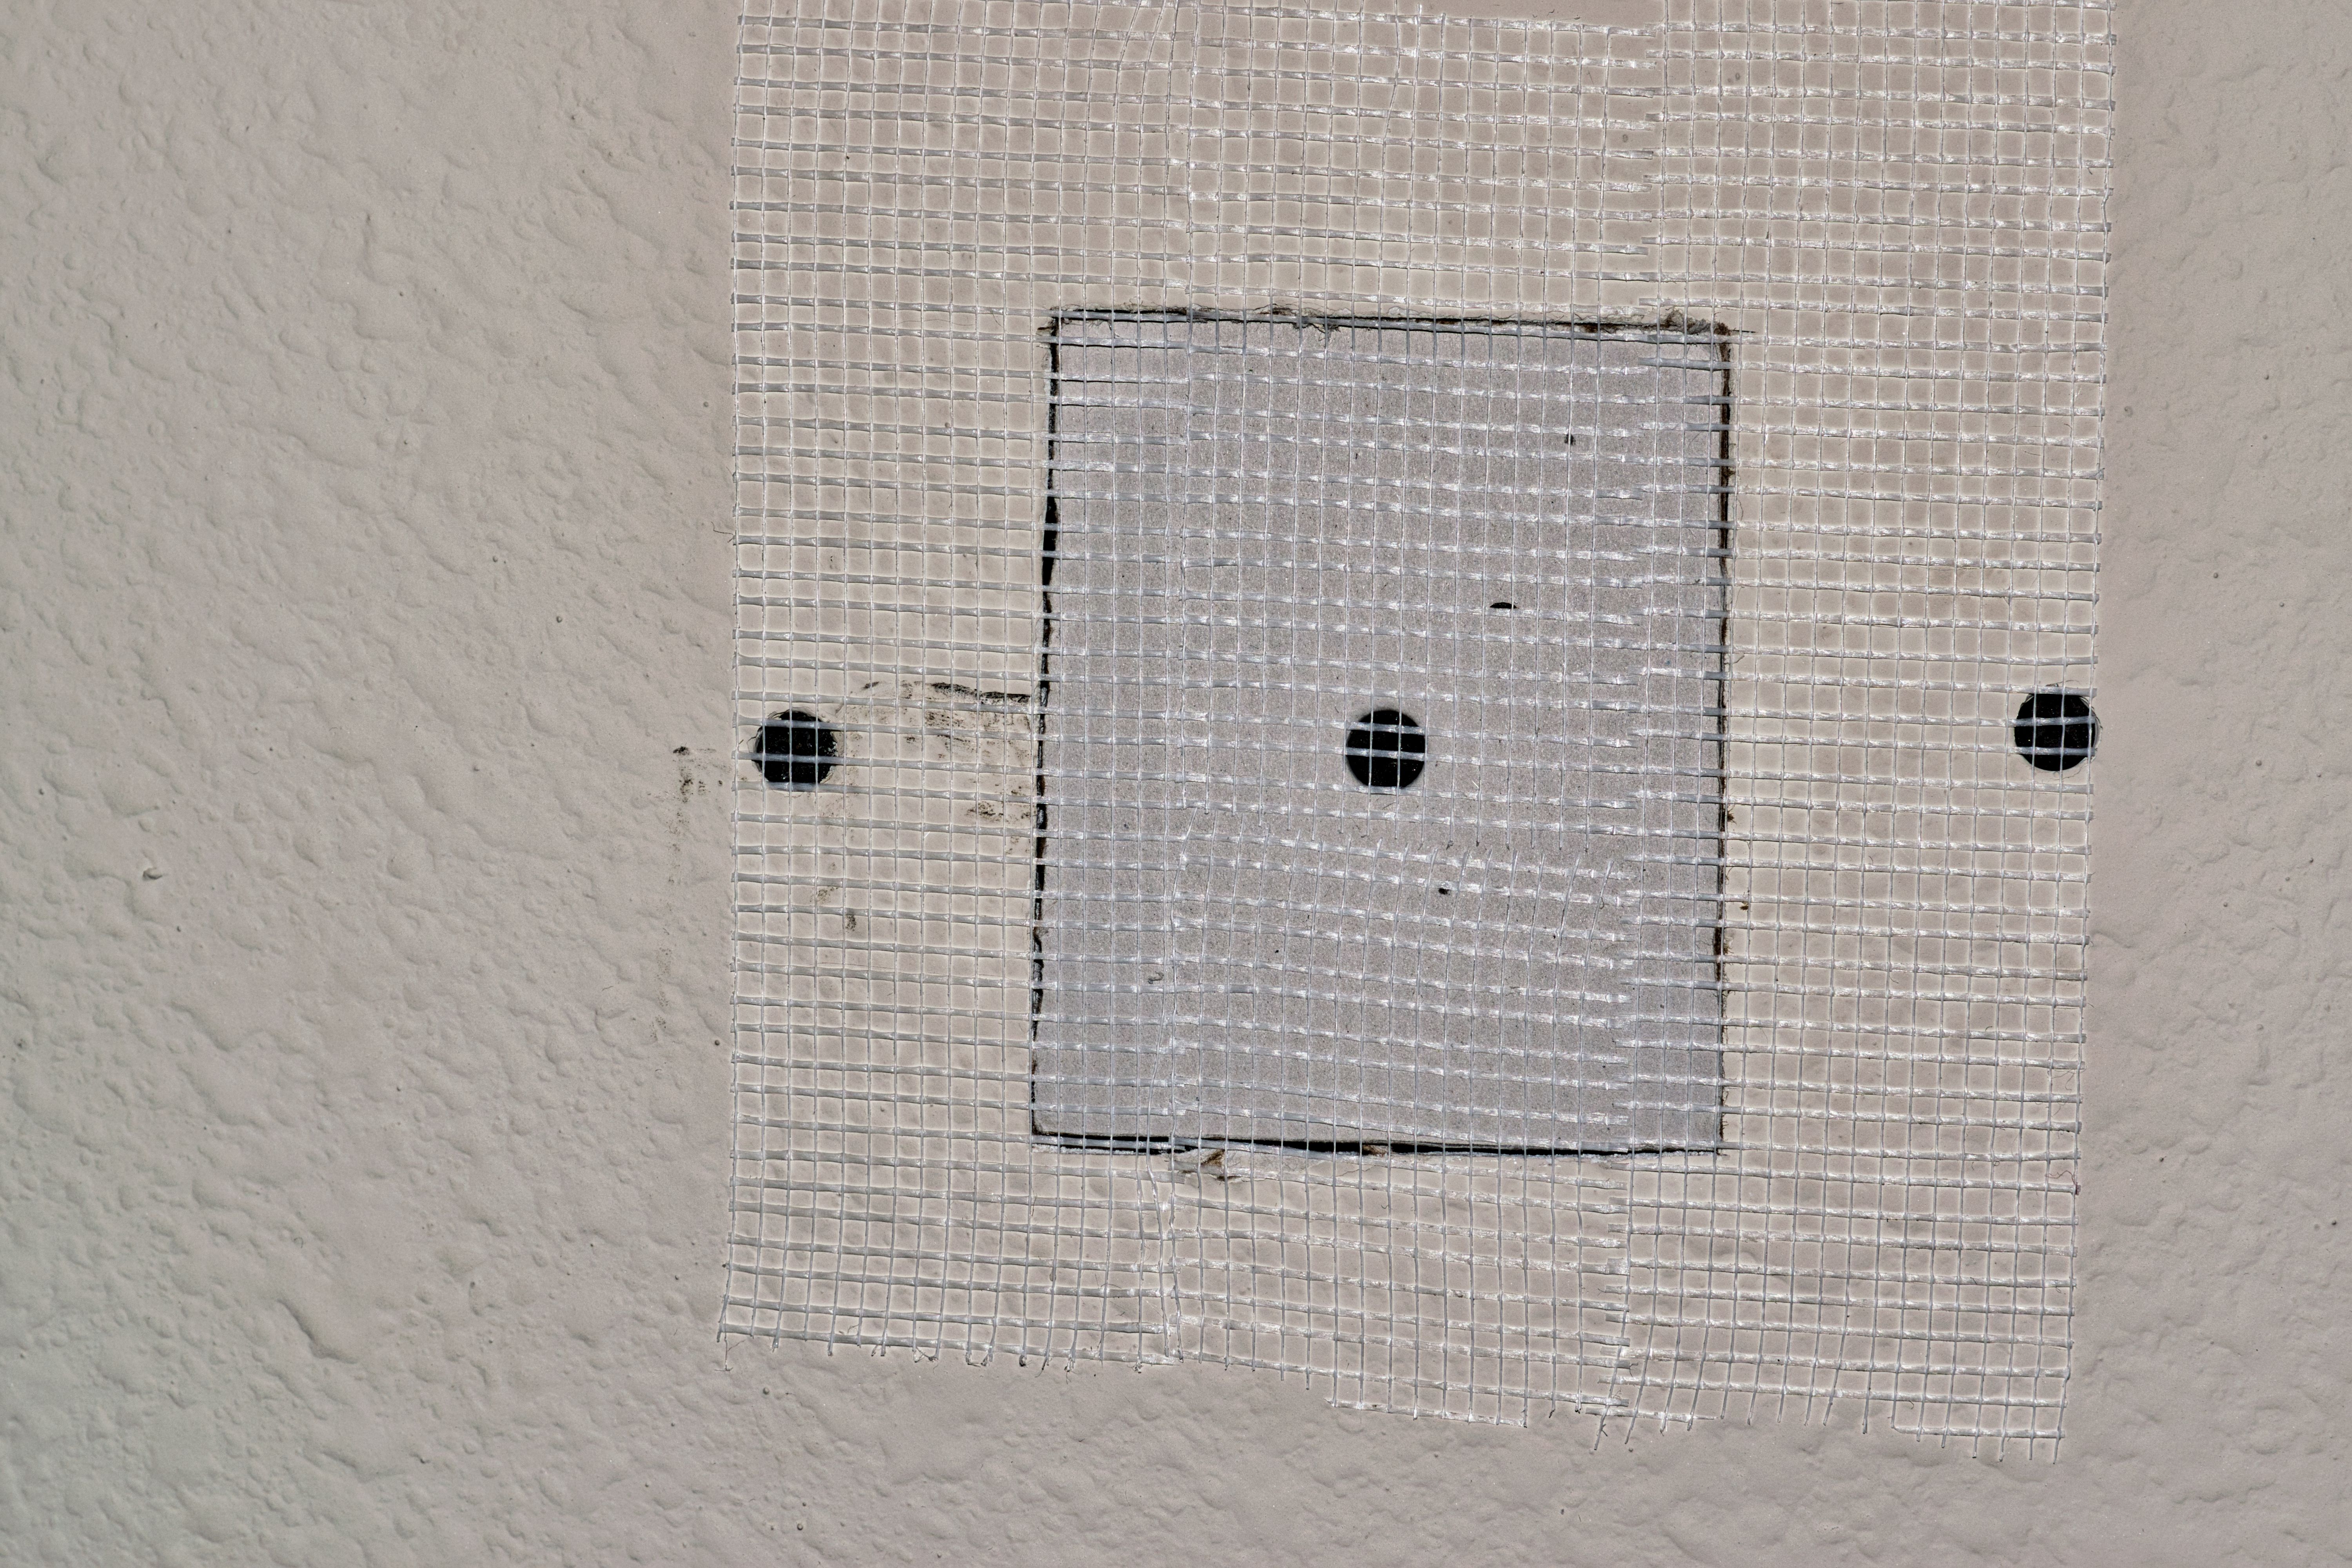
Repairing Larger Holes
Larger holes require more attention. Here's how to handle them:
- Cut a piece of drywall slightly larger than the hole.
- Place the drywall patch over the hole and trace its outline.
- Cut along the outline and remove the damaged section.
- Fit the patch into the hole and secure with screws if necessary.
- Cover the seams with joint compound and drywall tape.
- Sand, prime, and paint the repaired area.
Finishing Touches
Once the repair is complete, it's time to finish the job. Sand the area until it's smooth, ensuring there are no visible seams or bumps. Apply a coat of primer followed by paint that matches the rest of your wall. This final step will make the repair blend seamlessly.
Repairing drywall may seem daunting, but with patience and the right approach, you can achieve professional-looking results. By following this guide, you'll be well-equipped to handle any drywall issues that come your way.